Welcome!
Congratulation ! You got your very first beast geno !
But for a newbie, a geno can be pretty scary looking in appearance. So worry not ! This guide is here for you to help you out !

Useful Links / pages:
– Base Coats and Markings
– Mutations
– Quick Facts Guide
– Species Import Lines
– Import Backgrounds – 1800×1200
– Import Backgrounds – 3600×2400
Import Backgrounds as well as all other Cosmetic Items need to be purchased / crafted / found during activities or special events before they can be used on Imports!

Geno Dissection:
This is what a geno looks like:
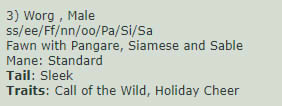
So now, let’s have a deeper look at it:
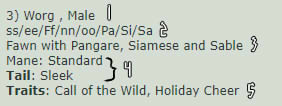
1 – Number of the baby in the litter) species, gender (Note: Some genos don’t have genders. This means you are free to choose!)
2 – Following the news from 1st of June 2021, Genotypes are no longer used in the game. So you can skip the string of letters in a geno!
3 – This is the Phenotype, giving you the genes your beast has.
4 – Mane and Tail appearance. Sometimes, physical mutations can occur (like here with the Sleek tail)
5 – This part of the geno only appears if the geno has Traits and / or Mutations.
Now that the geno is more clear for you, here come the fun part: Designing!

Design Basics:
First thing first, let’s download the import lines. You can find them on top of this guide or here: Species Import Lines
Note:
– The Files are PSDs but are friendly to many other softwares like Paint Tool Sai
Downloaded? Good! Open the file now.
You should now be able to see all the groups in the layer part of the software (Software used for this example: Paint Tool Sai):
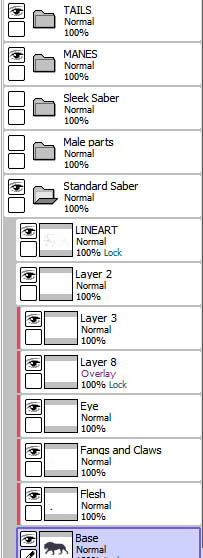
You can make the needed layers visible by clicking the small upper box on the left side. If the layer is not hidden you should see a small eye in the box. Don’t forget the gender of your beast!
Now it’s time to design! But first, let’s have another look at the phenotype:

The word highlighted in red is the Base Coat color. The words highlighted in black are the Genes.
So, for the base, you must pick a color from one of the many swatches given on the Base Coats and Markings page. In this case, the base color is Fawn:

Each base color has three swatches, giving you a lot of options to choose!
As for the genes, scroll down on the same page you have the base color from and click on the genes you need. You will be send to guides giving you all the explanations you need such as minimum and maximum ranges, edges, and much more.
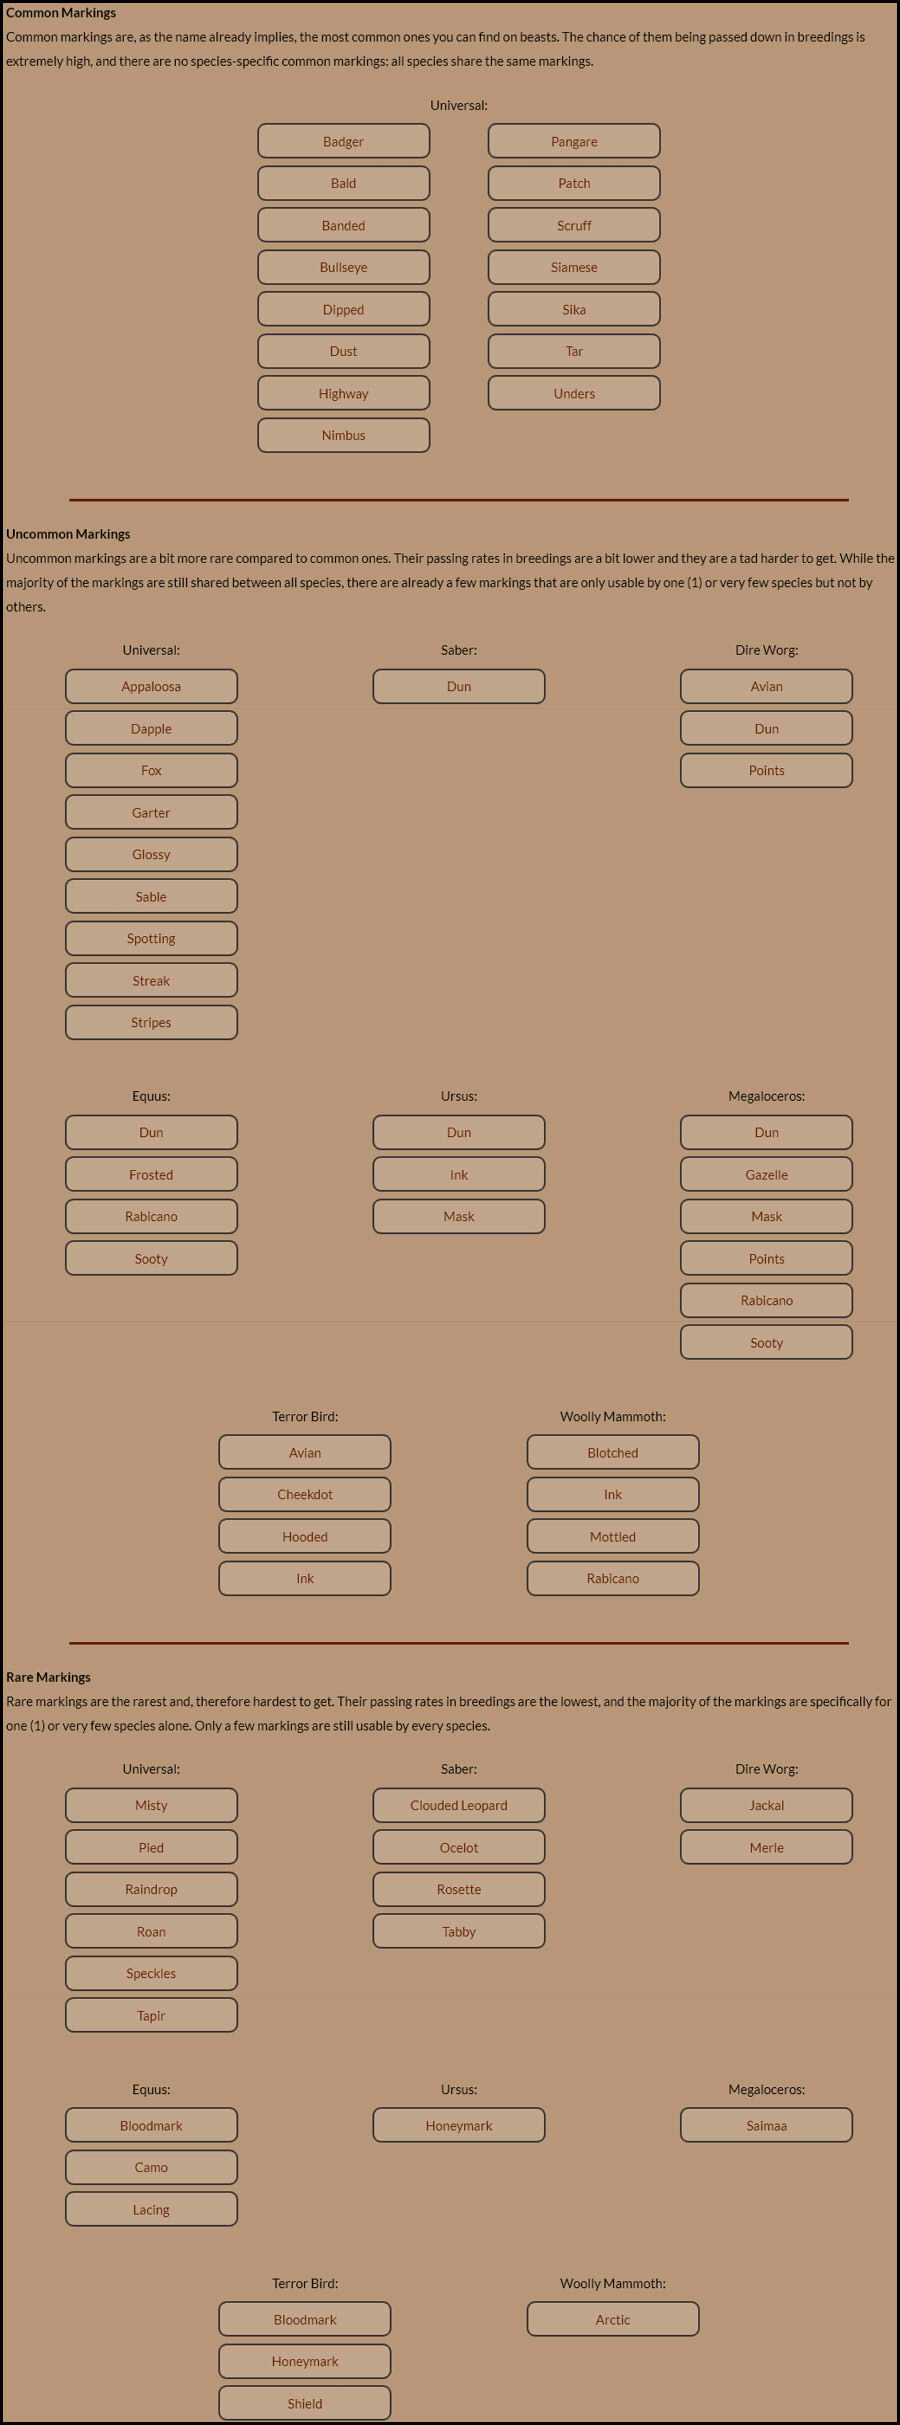
If you need more examples don’t hesitate to have a look at CaveSpeaker as all accepted designs are posted on this account!
Note: Do not add shading or highlighting to your design!
Now have fun designing your beast!
If you have any questions, feel free to let us know by commenting in the “Questions” thread in our Design Cycling journal or in our Design Talk channel on the Prehistoria Discord!

Tips and Misc:
Ranges
Some genes have ranges you need to respect when designing. Ranges are set like this in the info journals (Gene used for this example: Unders):
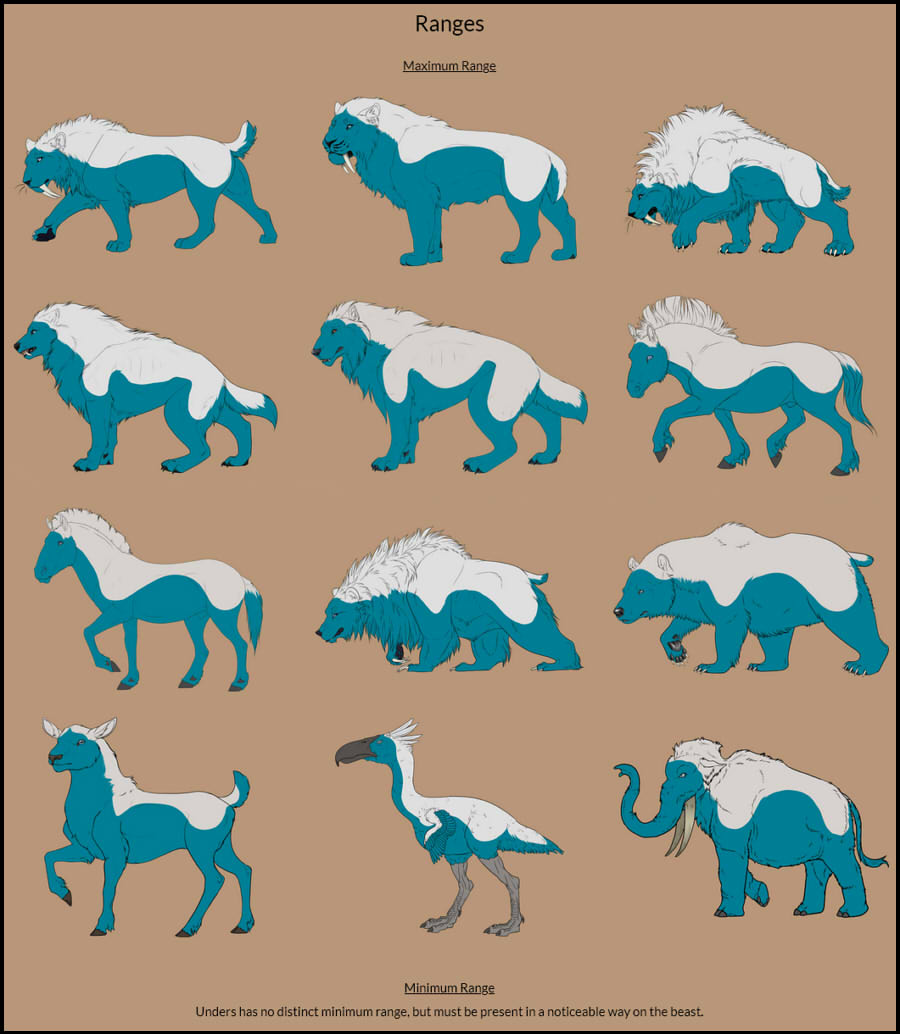
Blue shows the maximum range of the gene on the beast. Grey shows illegal areas.
If you have a doubt on the range, don’t hesitate to use the range files to your advantage! Open the sta.sh file by clicking on the range image on the website, copy and paste the range picture into the PSD file and lower the opacity. You should get something like this:
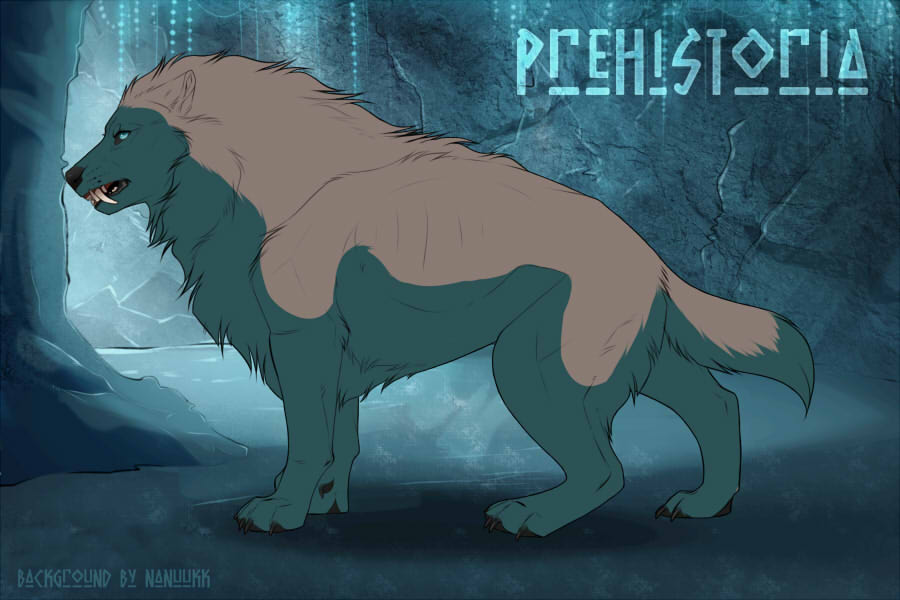
Now you have a good overhaul vision of the maximum range of the gene and you can paint over it on a new layer.
Relevant to base color
Many markings ask for the colors to be relevant/relative to base color. Here are some tips on how to get correct relevant colors for your beasts (Color swatch used for this example: Ochre):
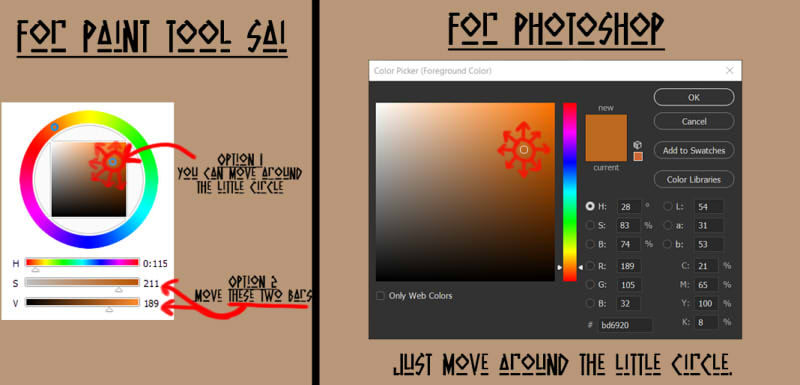
For more informations, check this guide: Quick Facts Guide
Free Markings
Each species has their own free markings to add a little something to your design! For ranges and more informations, just scroll down on the Base Coats and Markings page until you see this area:

Click on any of the markings, read the informations carefully and check the official ranges. Have fun making your babies even fancier!
Backgrounds
Every species has its default background you have to use:
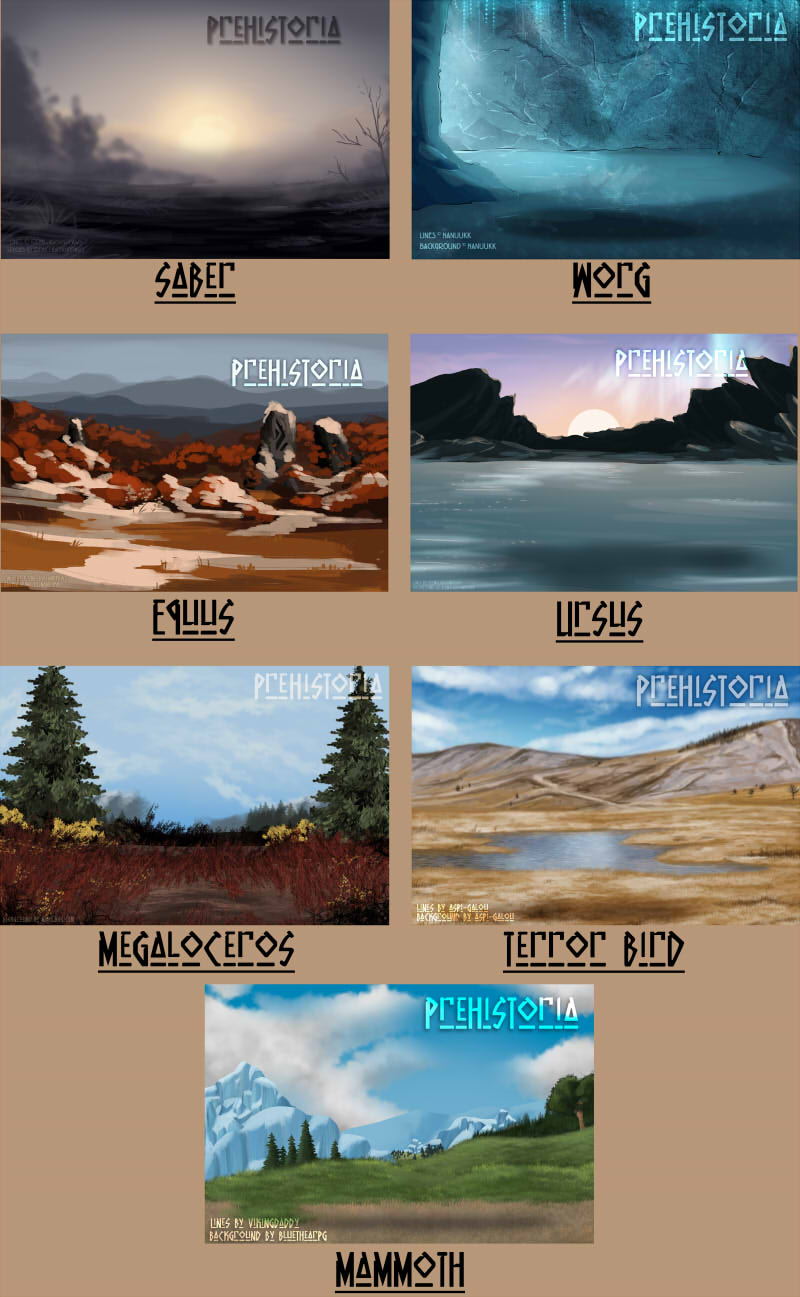
These two BGs are also free to use for your beast:
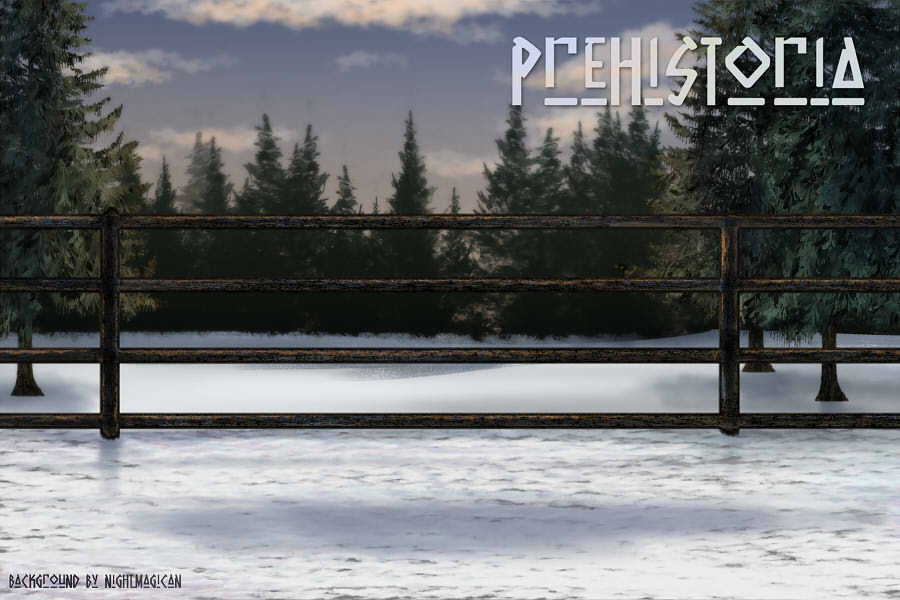
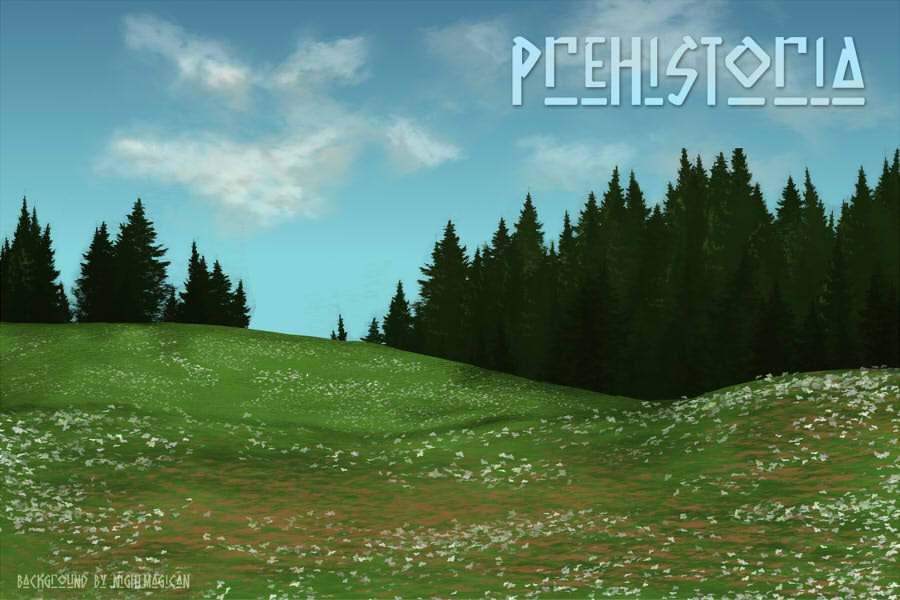
If you want to use any other background our group offers you need to purchase it / get it in other ways like trading with other players, finding them in chests etc!

How to correctly upload your beast in deviantArt sta.sh:
Your beast is done? You’re almost there!
First of all, save your file as .png and with full resolution (1800px x 1200px). If you don’t you will be send to corrections.
If acquiring a file from another player’s sta.sh, you can either download it by clicking on the black “Download” button or you click on the picture until it reached full size and save it in your computer.
Done? Then upload the picture to your sta.sh.
Almost done! Now you just have to fill out the mandatory Information Template.
Some notes about Lineage
– If the beast was bred (with a link leading to the breeding) don’t forget to fill out the lineage
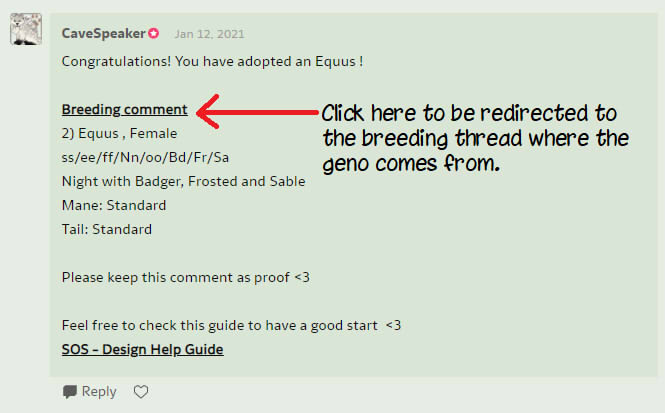
– If the geno comes from a Tame, AAA Adoption (with no breeding link), a Custom or an Abandoned / Lost Beast, leave the lineage empty! The parents will be randomly rolled by the Uploader.
Note about sta.sh files
After copy and pasting the sta.sh file in the comment, it’s going to be a picture only. You need to add a link to said picture so we can open and review it. To do so, click on your picture. A small menu should appear. Click on the chain icon and then proceed to copy and paste your link:
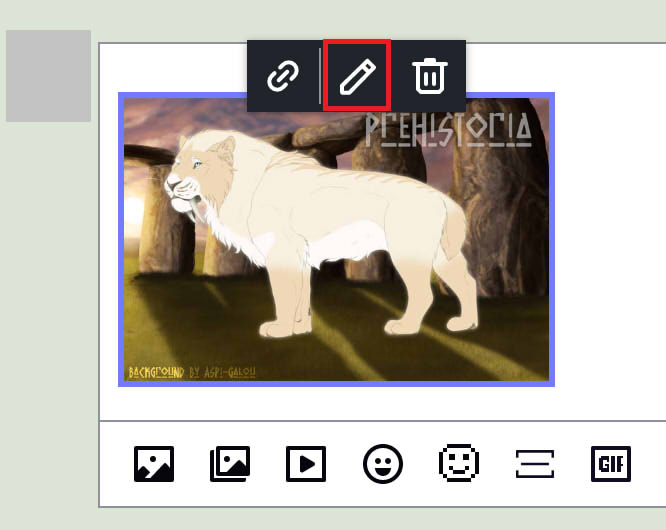
Don’t forget to click on “Submit” button afterwards!
Time to go to the Design Cycling page and post it in the correct thread under Design Approvals! To find the Cycling page, go to the group profile page and click the big Design button!

If you feel there is something missing in this guide, not good enough explained, etc, don’t hesitate to note our group or CaveSpeaker or write us on our Discord Server!